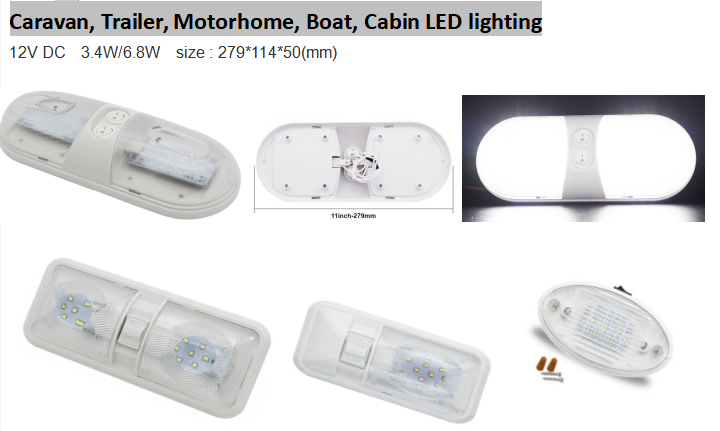
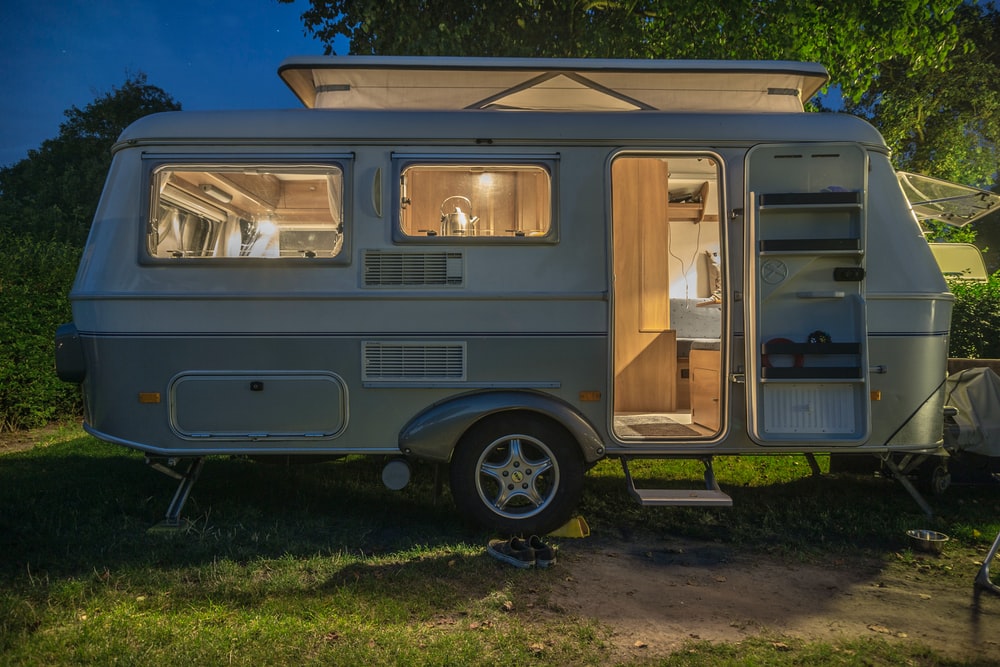
Hi, if you have RV, have you felt the heating form the rv lighting? or are you just looking for more engergy saving bulbs for your motorhome? In this article we are going to talke about how to install led interior lighting in your RV
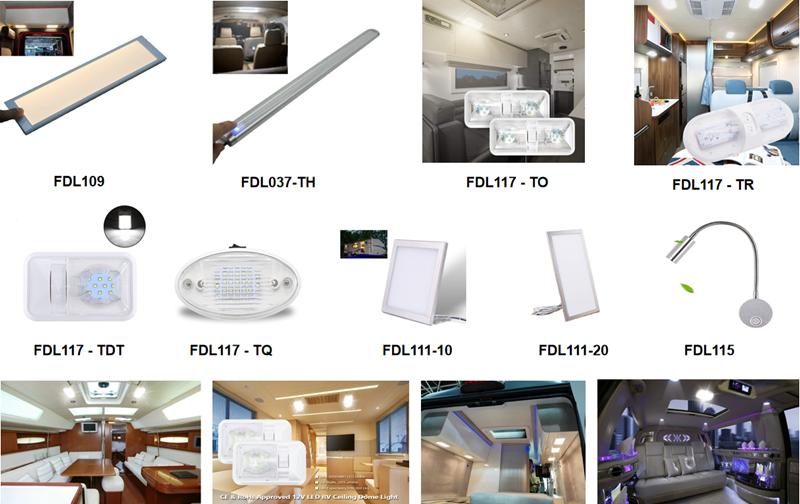
In this post we’re going to be focusing on removing our old RV dome lights and replacing them with new LED dome lights. If you’re looking for more creative replacements check out these light fixtures
Step 1: Turn Off Power Supply
During our renovation process there were a few times I forgot to disconnect the power or turn off the 12 volt power while working with the lights. During those attempts I was never shocked, however I do believe it’s better to live on the side of caution. Better safe than sorry, right?
Whenever I’ve worked on the lighting since we’ve been living in the RV I’ve remembered to turn off the power supply, and I think you should too if working with power. With that said now is the time to turn off the power.
Step 2: Remove Light Caps
In order to remove our RV dome lights we had to remove the plastic covers. As we know every RV is completely different, so while you may not need to remove the light caps to remove the fixture I still believe it’s important for the next step.
In order to remove our light caps it required pinching from the sides, then pulling down, as easy as that.
Step 3: Remove Light Bulbs
If the light fixtures you’re replacing have old style bulbs in them then odds are they’re made of glass. I choose to remove the bulbs first so that there was no way I’d accidentally break the bulbs and get glass everywhere.
To remove the bulbs from our fixtures it’s a matter of pushing in then twisting. Once you twist they should become unlocked and spring out toward you, hold on tight :).
Step 4: Remove Old Casing
Now that you have the plastic casings and the bulbs removed it’s time to grab your drill and remove the screws holding the fixture in place. It may have stuck to the ceiling a bit so you may have to pry at the fixture, once you do it should be hanging on by the wires.
Step 5: Disconnect Wires
Again, make sure your power supply has been shut off!
Before I disconnect the wires I like to take a second and examine which wires are connected to which. That way I’ll have a better idea of which wire is the ground and which wire supplies the power. By paying close attention to this I’m more confident that I’ll be connecting the new fixture right the first time.
Once you think you’ve an idea of which wires are which go ahead and untwist them. Once you do the old fixture should be completely removed, set it to the side.
Step 6: Connect New Light Fixture Wires
Again you’ll want to look closely at the two wires coming from the new LED light fixture. Generally speaking the ground wire should be black, though sometimes that isn’t the case.
Our light fixtures had a black wire (which was the ground) and a white wire (which was the power supply). However the wires coming from the RV had an orange wire (which was the ground) and a white wire (which was the power supply).
When I began to attach my new light fixture I realized it didn’t have enough wire showing for me to twist onto the other wires. I needed to strip the casing to give myself more live wire to work with. This is where my wire strippers would’ve come in handy.
Now that I have enough wire, I twisted the black wire to the orange (ground to ground) then the white to the white (power supply to power supply).
I chose to reuse the wire nuts that were on my old light fixture, though if you’d like you can use new ones.
Note: You’ll want to use a wire nut for the ground wires and then a separate wire nut for the power supply wires.
Push the wires that are twisted together into the wire nut then turn the nut to catch the wires inside. Twist the nut as if it were a nut on a bolt.
To be completely honest with you these were the first wire nuts I’ve ever used that I didn’t also secure with electrical tape. They happened to tighten down on the wires enough that I felt good about them holding. If for whatever reason you are having trouble getting the wire nuts to stay in place you can use electrical tape to secure the nuts to the wires.
Step 7: Turn Power Supply Back On
If you have a helper for this task now is the time to have them flip the power back on while you hold the light. Once they turn the power on give the light a try.
If you watch the video you’ll notice I forgot this step. You want to test the light now so you don’t finish installing it and realize you connected the wires wrong. It’s a lot easier to disconnect them when they’re still right in front of you.
Step 8: Remove Bulb Covers
The light worked, Yay! Now remove the plastic bulb covers so you can reach the screw holes in the new light fixture.
Step 9: Screw In New Light Fixture
I used the screws from my previous light fixture to attach my new one to the ceiling.
The new LED dome light wasn’t the same size so I needed to make four new holes in the ceiling. If this is the case for you try your best to cover the old screw holes with the light fixture itself. That way you won’t have any eye sores around the new fixture.
Step 10: Replace Plastic Bulb Covers
Put the plastic bulb covers back in place.
Step 11: Enjoy New Energy Efficient Lighting
Turn the light on and enjoy your new energy efficient lighting that won’t get hot like before.
The first time I pulled down one of our light fixtures, I was a nervous wreck. You know just like I am with everything I’m doing for the first time in the RV. It wasn’t that bad though right?
I hope this post helped you feel more confident so you can install LED Lights in a RV. If you’ve any questions or comments please feel free to leave them below.
-
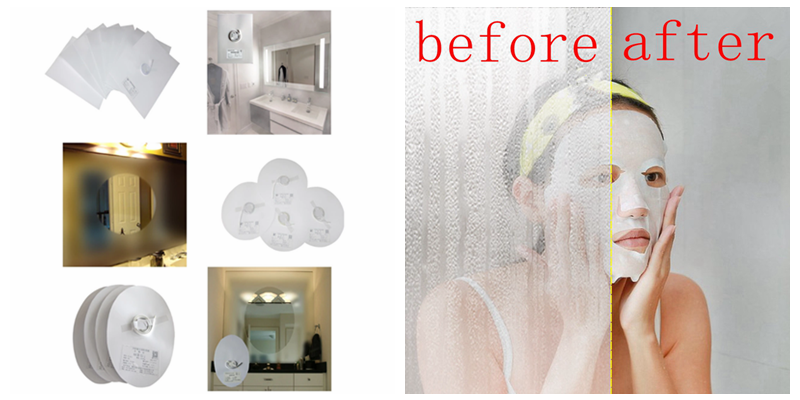 How to Install Heat Pad on Mirror?
Do you like ?0
Read more -
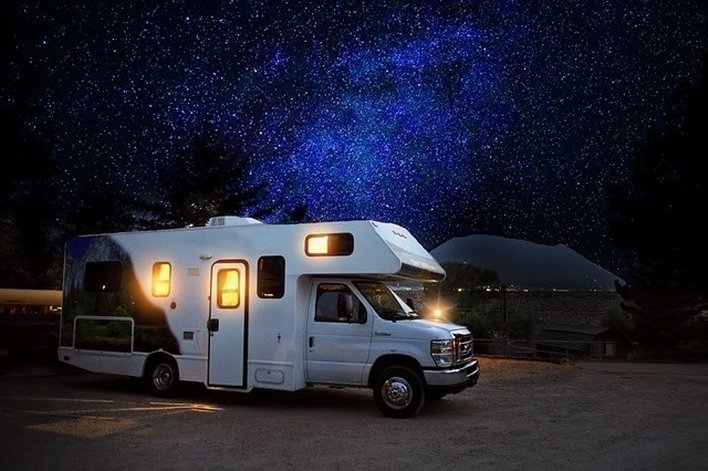 Why LED Lights are Perfect for RVs & Boats?
Do you like ?0
Read more -
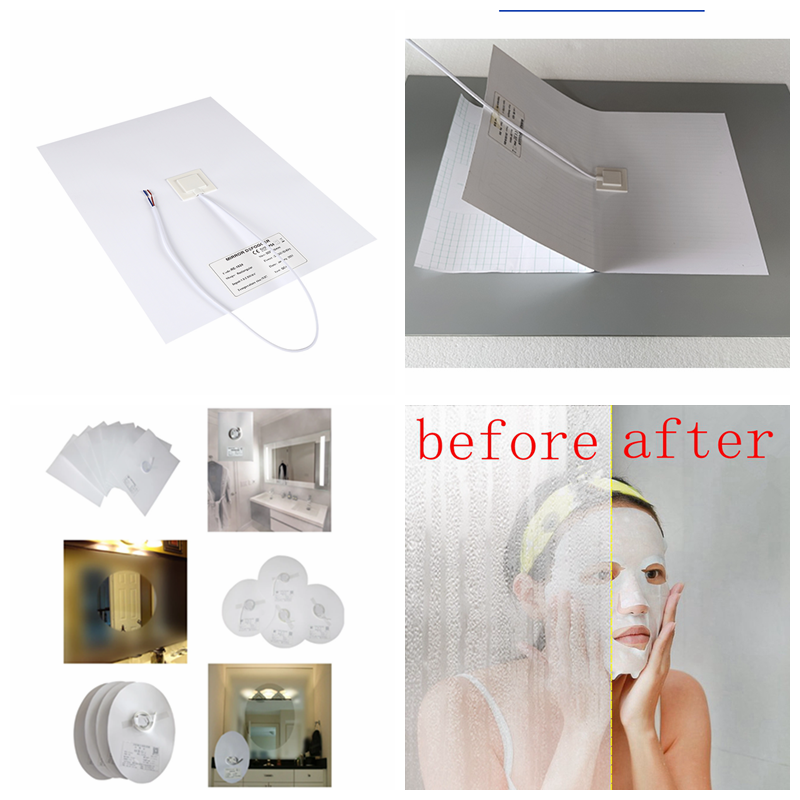 How Good Anti-fog Film for Mirror!
Do you like ?0
Read more -
 How do you choose which lights to buy for your RV’s interior?
Do you like ?0
Read more -
 What Are the Most Common Interior Lights Used by RV Manufacturers?
Do you like ?0
Read more -
 Do You Know The Great Uses for Puck Lights?
Do you like ?0
Read more